Tis the season for holiday parties and the chance to entertain with style. Today you are in for a treat (literally) since Danielle is sharing a drink version of her favorite Christmas candy – chocolate covered cherries. Yum! As I was reading this post I was salivating and wishing I had a cocktail with me right then. Never fear –this cocktail is the feature drink for Christmas Craft Day this weekend! XO – Olivia
There’s not hing like a classic mug of hot chocolate, especially during the holiday season. Really, what could be better? (If you responded, “Nothing!” I have to tell you, this was a test and you just failed.) The answer is boozy hot chocolate topped with spiked homemade whipped cream!
With today’s trend in flavored vodkas and so many delicious liqueurs to choose from, flavor options for a good adults-only hot chocolate are practically limitless. I really had to reign myself in and narrow it down to create only one recipe for this post. Let me tell you, it was a tough decision. Caramel, mint, orange, cinnamon, raspberry, marshmallow, coffee, coconut, and vanilla are some of the contenders that didn’t make the cut. The winner? Cherry hot chocolate to be served with an amaretto flavored whipped cream. Yum, right?! I thought so.
Growing up, my favorite holiday candy was chocolate covered cherries. To this day, it remains a treat I look forward to, and sometimes even still get, in my stocking from Santa (if I manage to stay off the naughty list)!
 This holiday season I wanted to capture my favorite childhood Christmas candy in a beverage that adults can enjoy on Christmas morning (whether they were naughty or nice). So today, I give you my take on a chocolate covered cherry in beverage form. Simple, delicious, and elevated with a light topping of amaretto whipped cream and sprinkled with cherry-almond dark chocolate. On an average day, who doesn’t love a good cherry almond, or chocolate almond flavor combo, but Chocolate, cherry and almond?! Get in my belly.
Adults Only Chocolate Covered Cherry Hot Chocolate
Makes: 2 drinks
Prep Time: 20 minutes
Part One: Amaretto Whipped Cream
I would recommend making the whipped cream first so it’s ready to go once your hot chocolate is warmed to the perfect temperature and ready to serve.
Ingredients:
- 1/2 cup heavy whipping cream
- 1/4 cup amaretto liqueur
 Step One: Whip the cream with the whisk attachment of a stand mixer or a handheld electric mixer until soft peaks form. TIP: If you place the bowl and whisk in the freezer for 5 minutes before whipping the cream, it helps speed up the process.
Step Two: Add amaretto to the soft peaks and whip for another 10-15 seconds, until combined.
Step Three: Cover and place the bowl of whipped cream in the refrigerator until you are ready to top your hot chocolate.
Part Two: Chocolate Covered Cherry Hot Chocolate
Now for the mainstay, the hot chocolate. This recipe call for less sugar than you would normally use in a good old-fashioned hot chocolate. Since the liqueurs each add their own sweetness, it’s important to hold back on the initial sugar so that you don’t over-sweeten your drink.
Ingredients:
- 2 cups milk
- 1 scant tablespoon sugar
- 2 tablespoons Dutch processed cocoa powder
- 2 tablespoons cherry flavored vodka
- 4 tablespoons Baileys Chocolate Cherry liqueur
- Chocolate for garnish (I used a Theo Cherry and Almond Dark Chocolatebar)


Step One: In a small saucepan over medium-high heat, combine the milk, sugar, and cocoa powder. Whisk the mixture constantly until the cocoa is dissolved in the milk, and the mixture is steaming (about 5-6 minutes). TIP: Be carful not to burn the milk by using too high a heat or not stirring constantly. Remove from heat.
Step Two: Divide the vodka and Baileys into two mugs – 1 tablespoon of vodka and 2 tablespoons of Baileys in each mug.
 Step Three: Pour hot chocolate into the mugs until there is about an inch left at the top (careful not to overfill).
 Step Four: Top each mug with whipped cream and chocolate chunks for garnish. TIP: I took a rolling pin to my Theo chocolate bar to crush it into small pieces (place the chocolate bar in a zip-lock bag and roll away), but if you’re feeling fancy, chocolate shavings would work beautifully as well!
Step Five: Enjoy your Adults Only Chocolate Covered Cherry Hot Chocolate!
For this recipe, I chose my favorite flavors because, hey, I’m writing this post so I do what I want. Would you like suggestions for your own boozy hot chocolate recipe that includes your favorite flavors? Write me via the comments link above and I’ll help come up with your perfect holiday spiked hot chocolate recipe! You guys, I have so many ideas!
Cheers! – Danielle


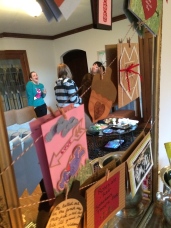
 I am a strong believer in letting those you love know it, so I say “I love you” to my friends and siblings every time we talk. Life is precious and I don’t want to ever regret not saying it. Every January since 2003 I have sent handmade Valentine’s Day cards to my closest friends and family to make sure they know I care.
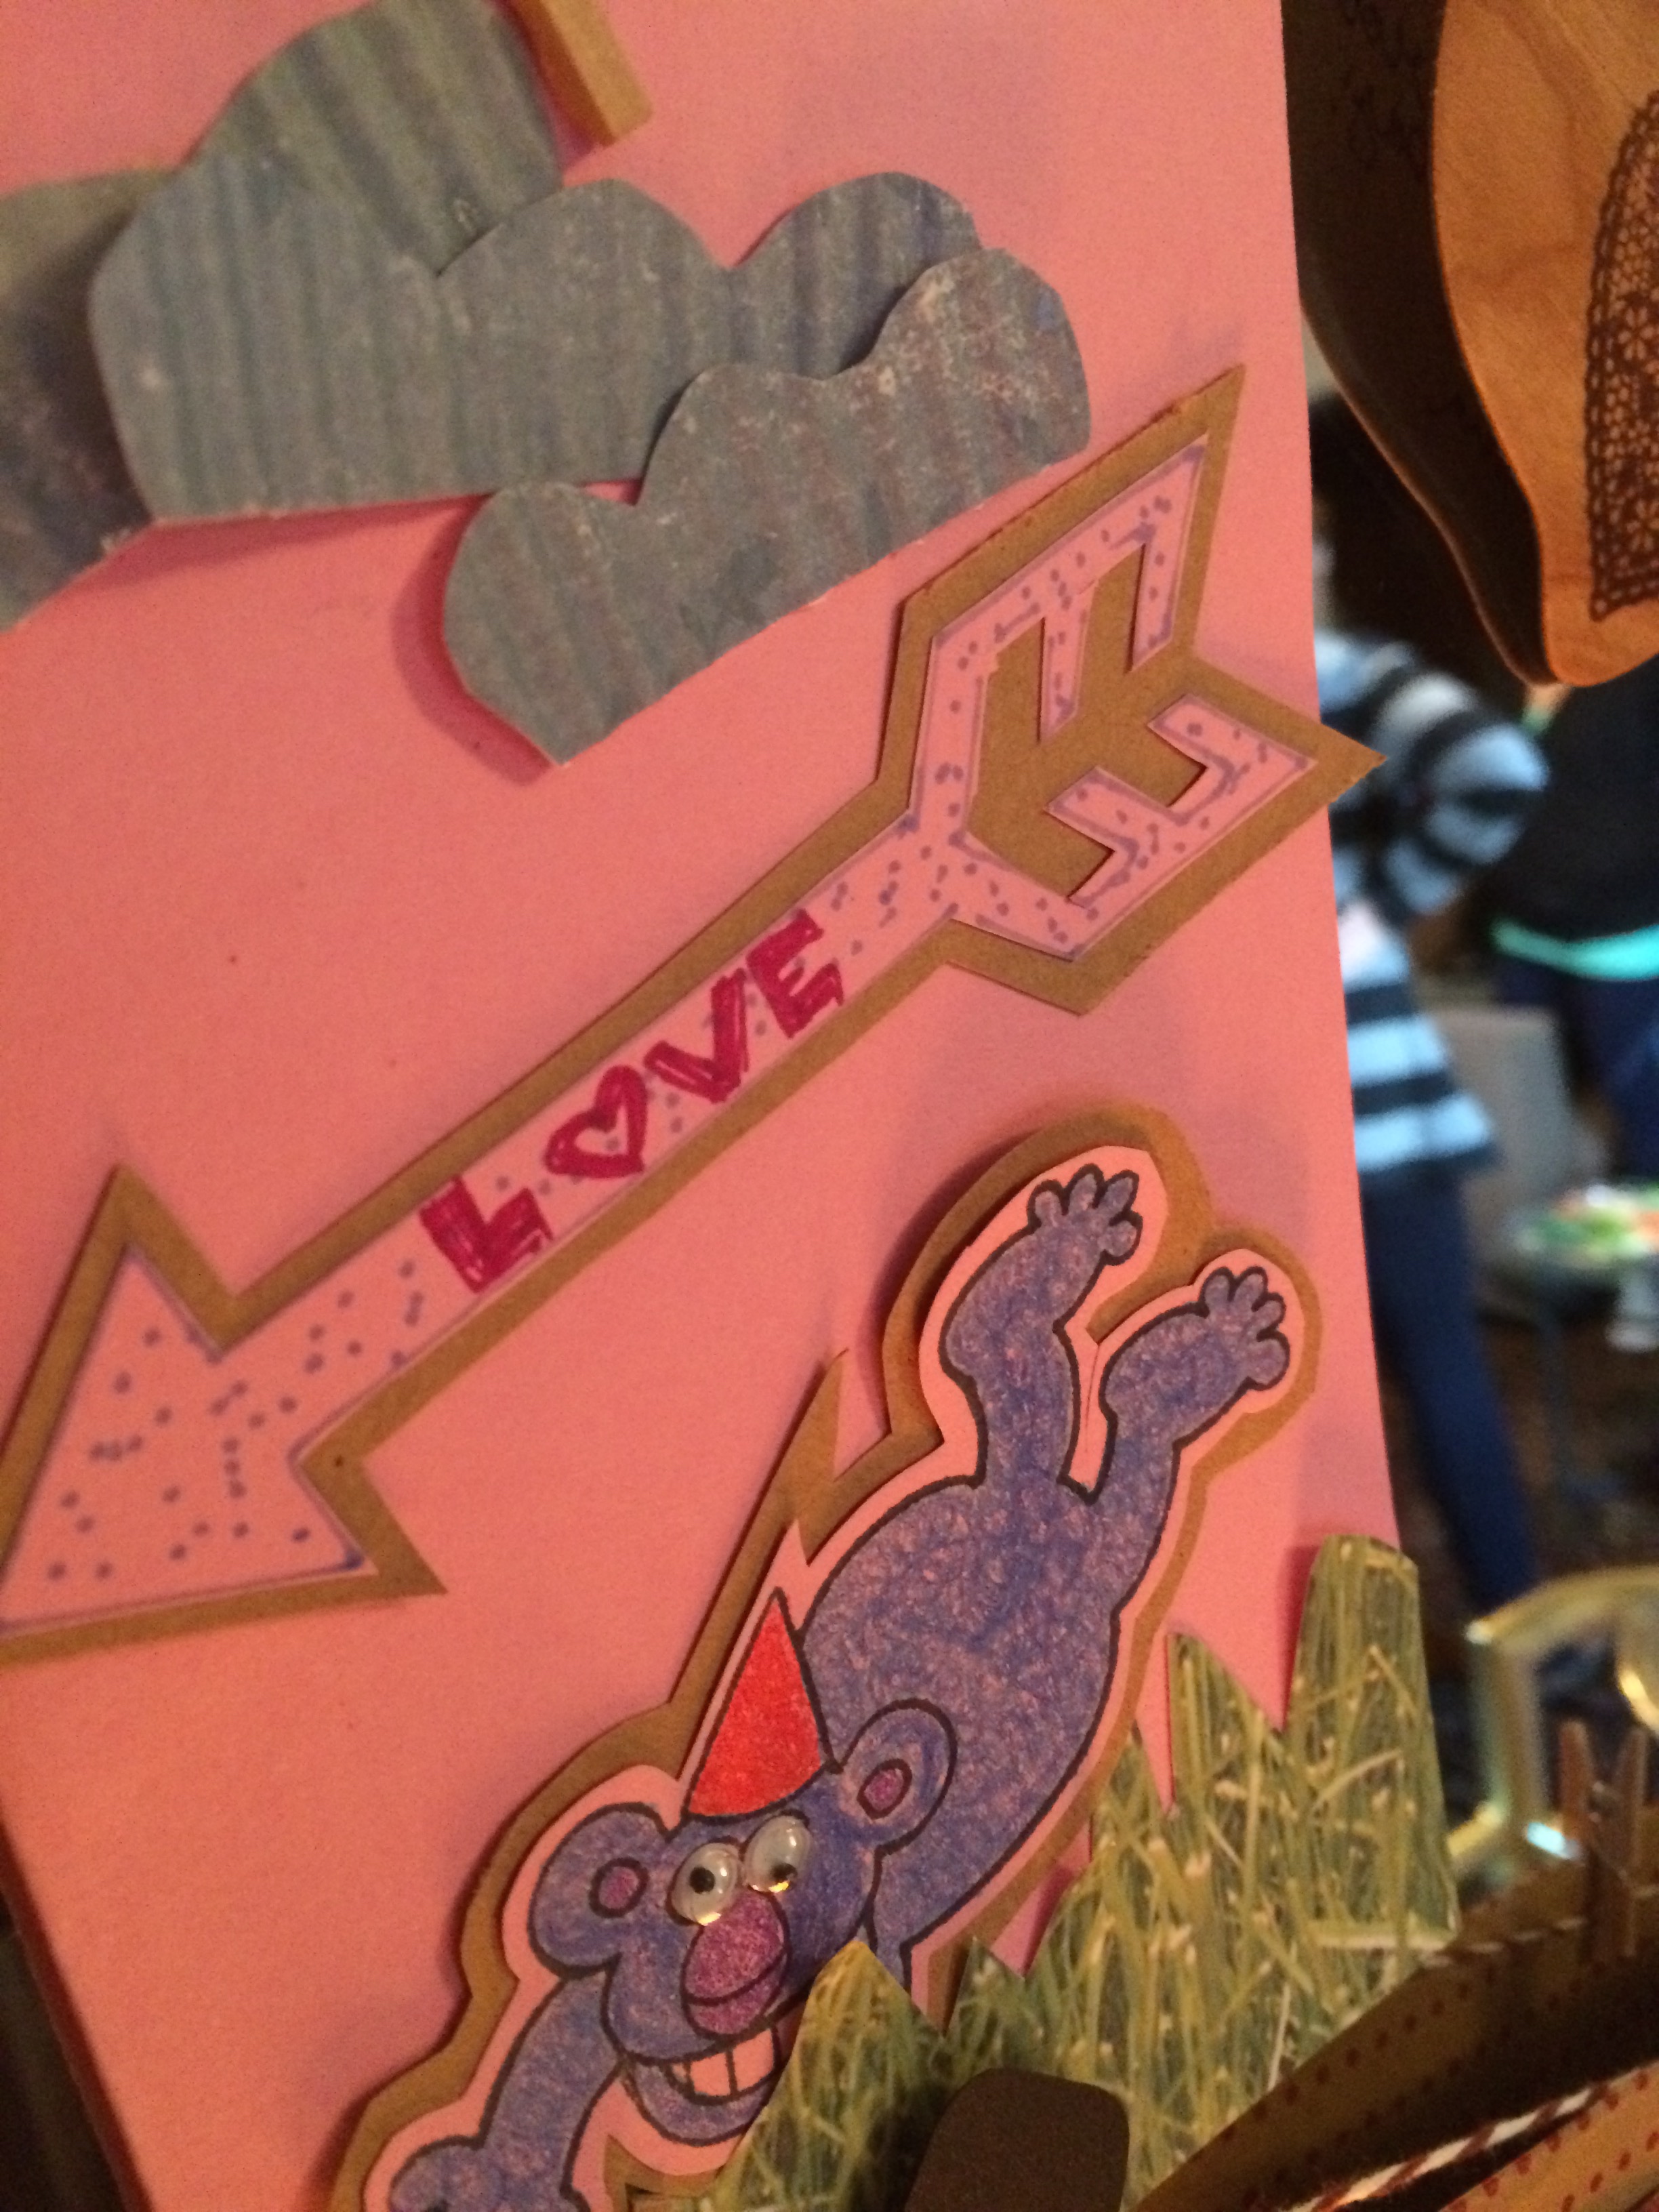
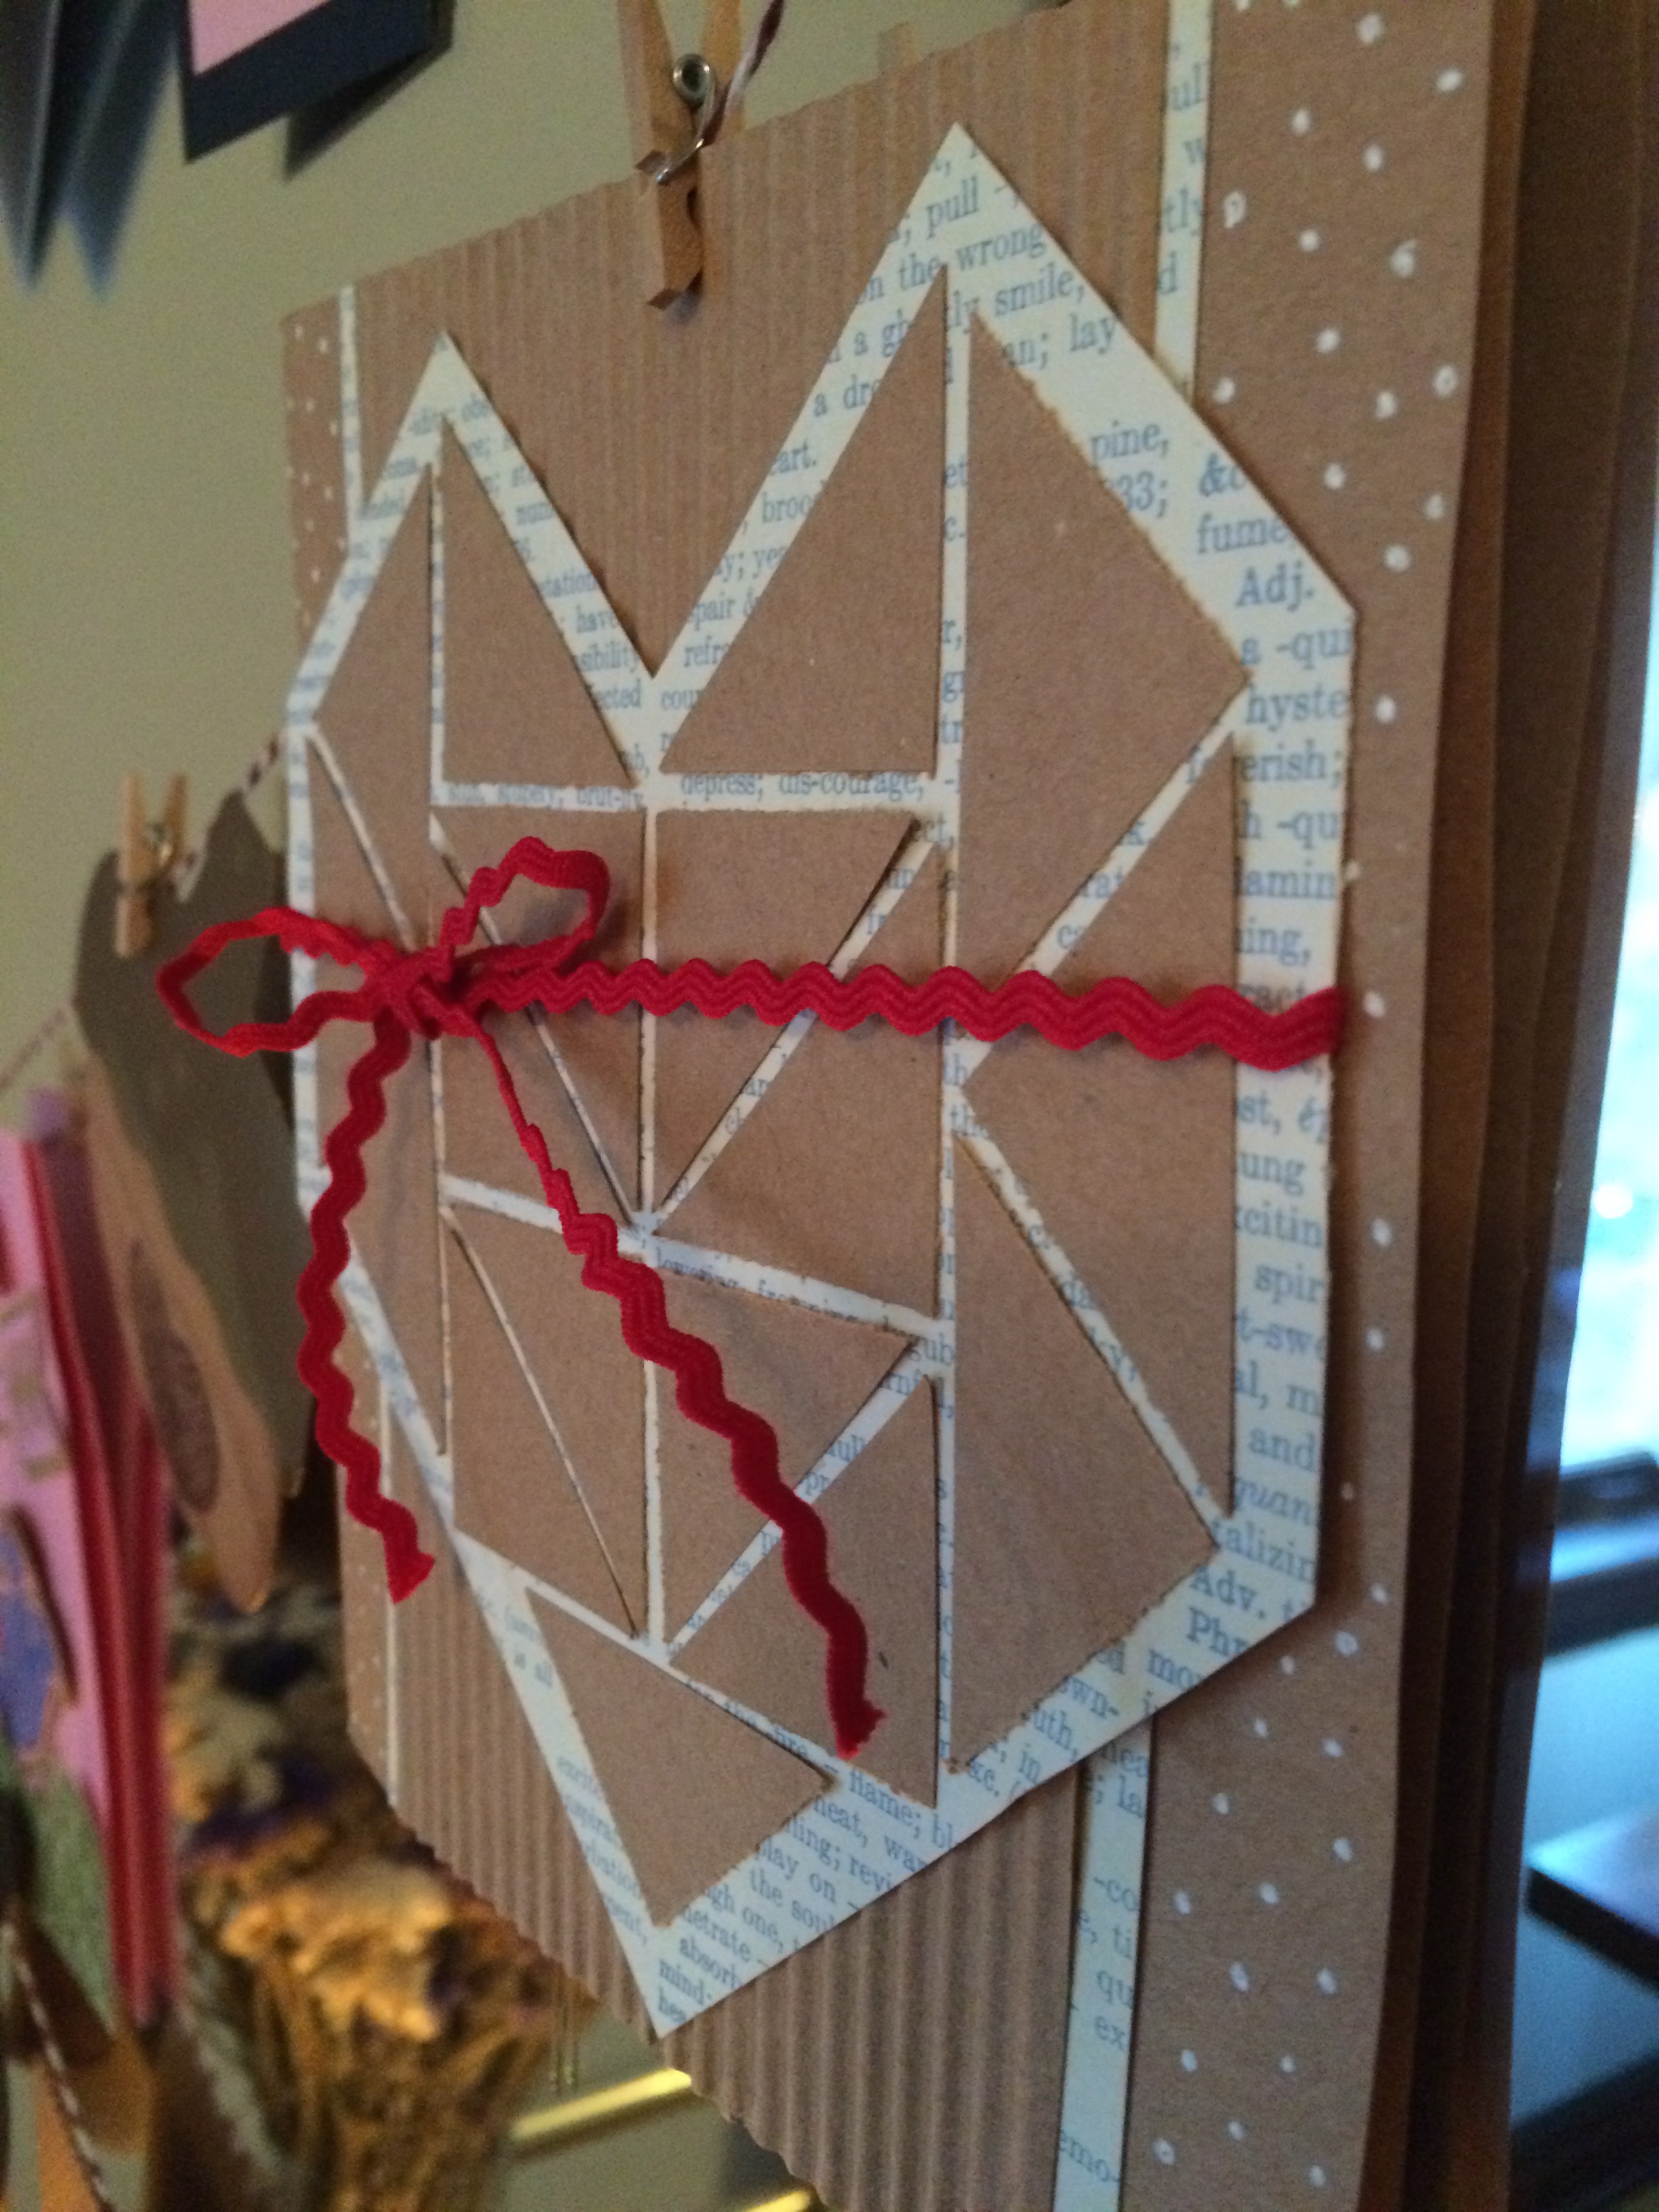
 Each year, I am inspired by a new theme – sailing, woodland animals, treasure hunts, and the list goes on. I typically send 15-20 cards yearly. This year, I came across acorn garland (that could be deconstructed and used as individual acorns) at Paper Source and found a catchy quote online that resonated with me – “The tallest oak in the forest was once just a nut that held its ground.” For the personal touch, I added a note about our friendships being grounded in strong roots. To finish it off, I stamped a cute heart to the front of the acorn. Voila- 12 cards complete in less than 4 hours!