My Yearly Valentine – DIY Cards

DIY Valentine's - Hammer Sparkle Chalk

Helena - Hammer Sparkle Chalk Contributor

You are in luck – we have a new fabulous contributor today, Helena. She is sharing her crafty knowledge with us for Valentine’s Day Cards. Since Valentine’s Day is only five days away it is time to get your valentines-ducks in a row. Helena’s post will help you spread some love to your nearest and dearest this holiday.

Get your craft on! XO – Olivia

My Yearly Valentine – DIY Cards

DIY Valentine's - Hammer Sparkle ChalkI am a strong believer in letting those you love know it, so I say “I love you” to my friends and siblings every time we talk. Life is precious and I don’t want to ever regret not saying it. Every January since 2003 I have sent handmade Valentine’s Day cards to my closest friends and family to make sure they know I care.

DIY Valentine's - Hammer Sparkle ChalkEach year, I am inspired by a new theme – sailing, woodland animals, treasure hunts, and the list goes on. I typically send 15-20 cards yearly. This year, I came across acorn garland (that could be deconstructed and used as individual acorns) at Paper Source and found a catchy quote online that resonated with me – “The tallest oak in the forest was once just a nut that held its ground.”  For the personal touch, I added a note about our friendships being grounded in strong roots.  To finish it off, I stamped a cute heart to the front of the acorn. Voila- 12 cards complete in less than 4 hours! DIY Valentine's - Hammer Sparkle Chalk

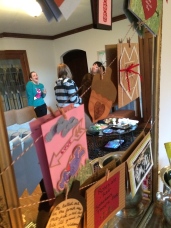
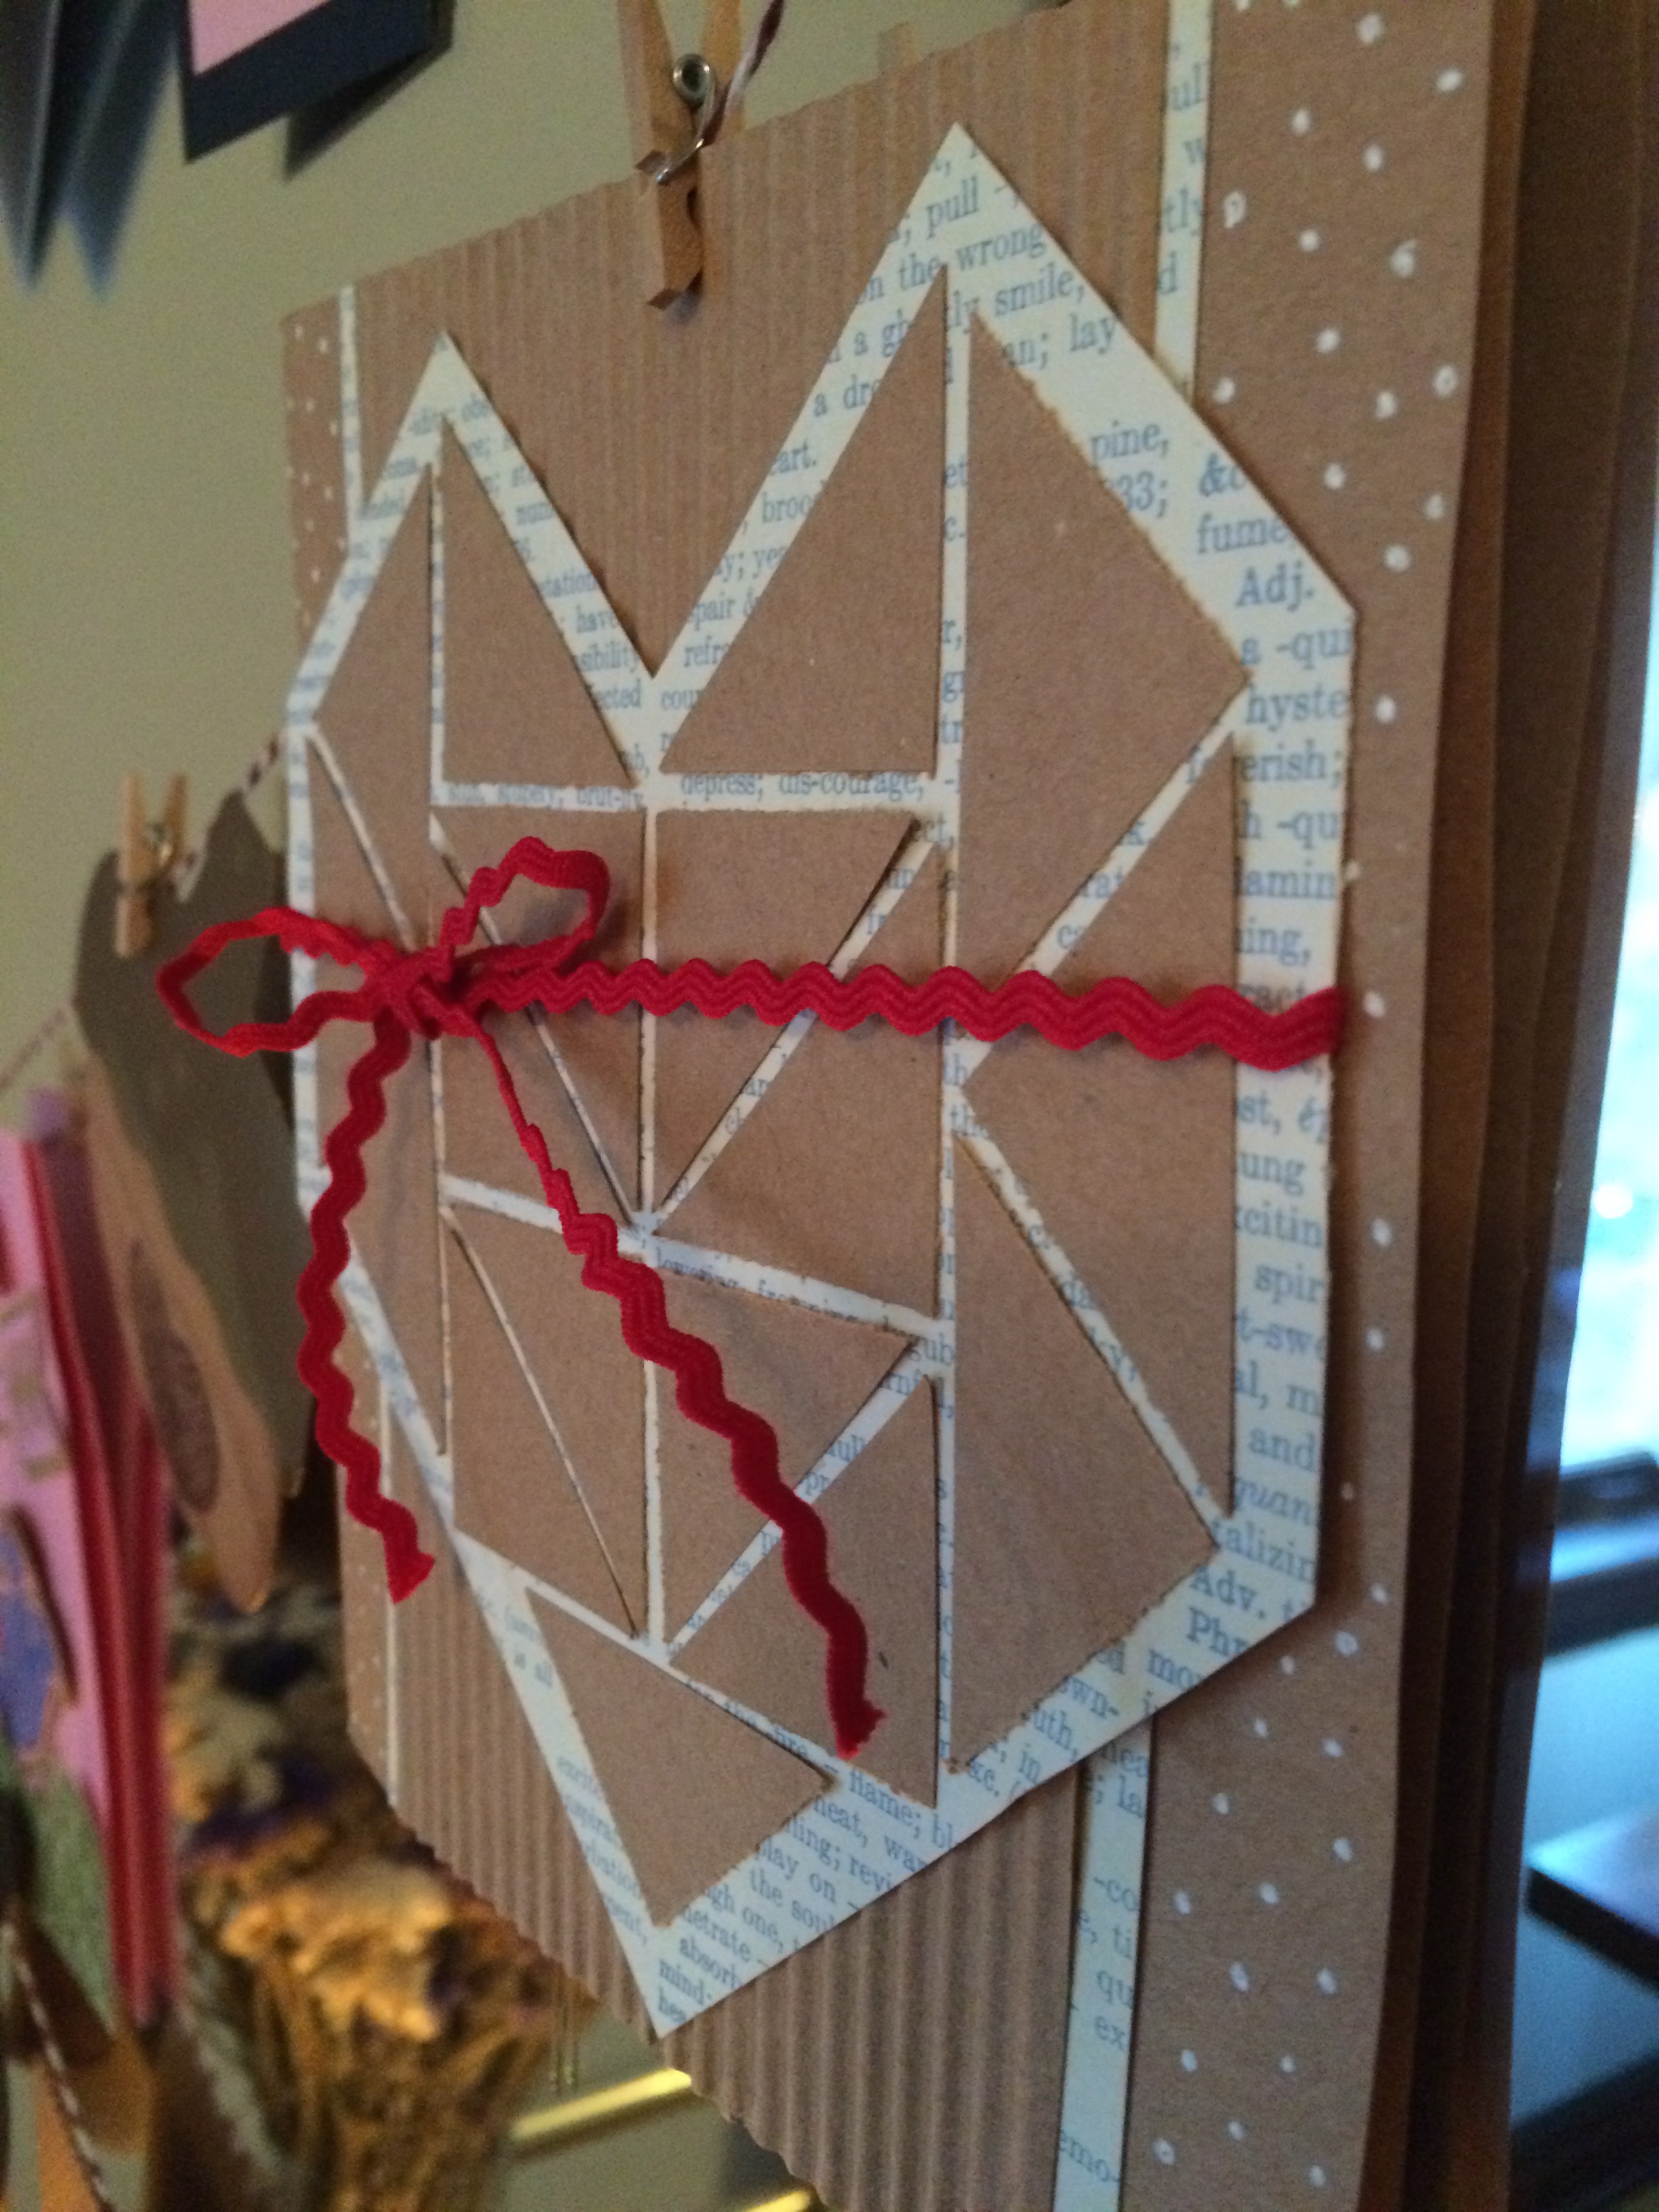
This year, to share in the fun I invited a few others over for a V-Day craft day. Coming across the pre-cut cards made hosting a party easy.  Fast assembly allowed me time to socialize and get my cards done. The guests brought some of their own materials for cards with them and I provided tools, glitter, papers, stamps, and scissors. I kept the food simple, a gourmet cheese plate with fresh bread, grapes and gluten free crackers allowed guests to help themselves.  For drinks, I served coffee and wine for the early afternoon event.

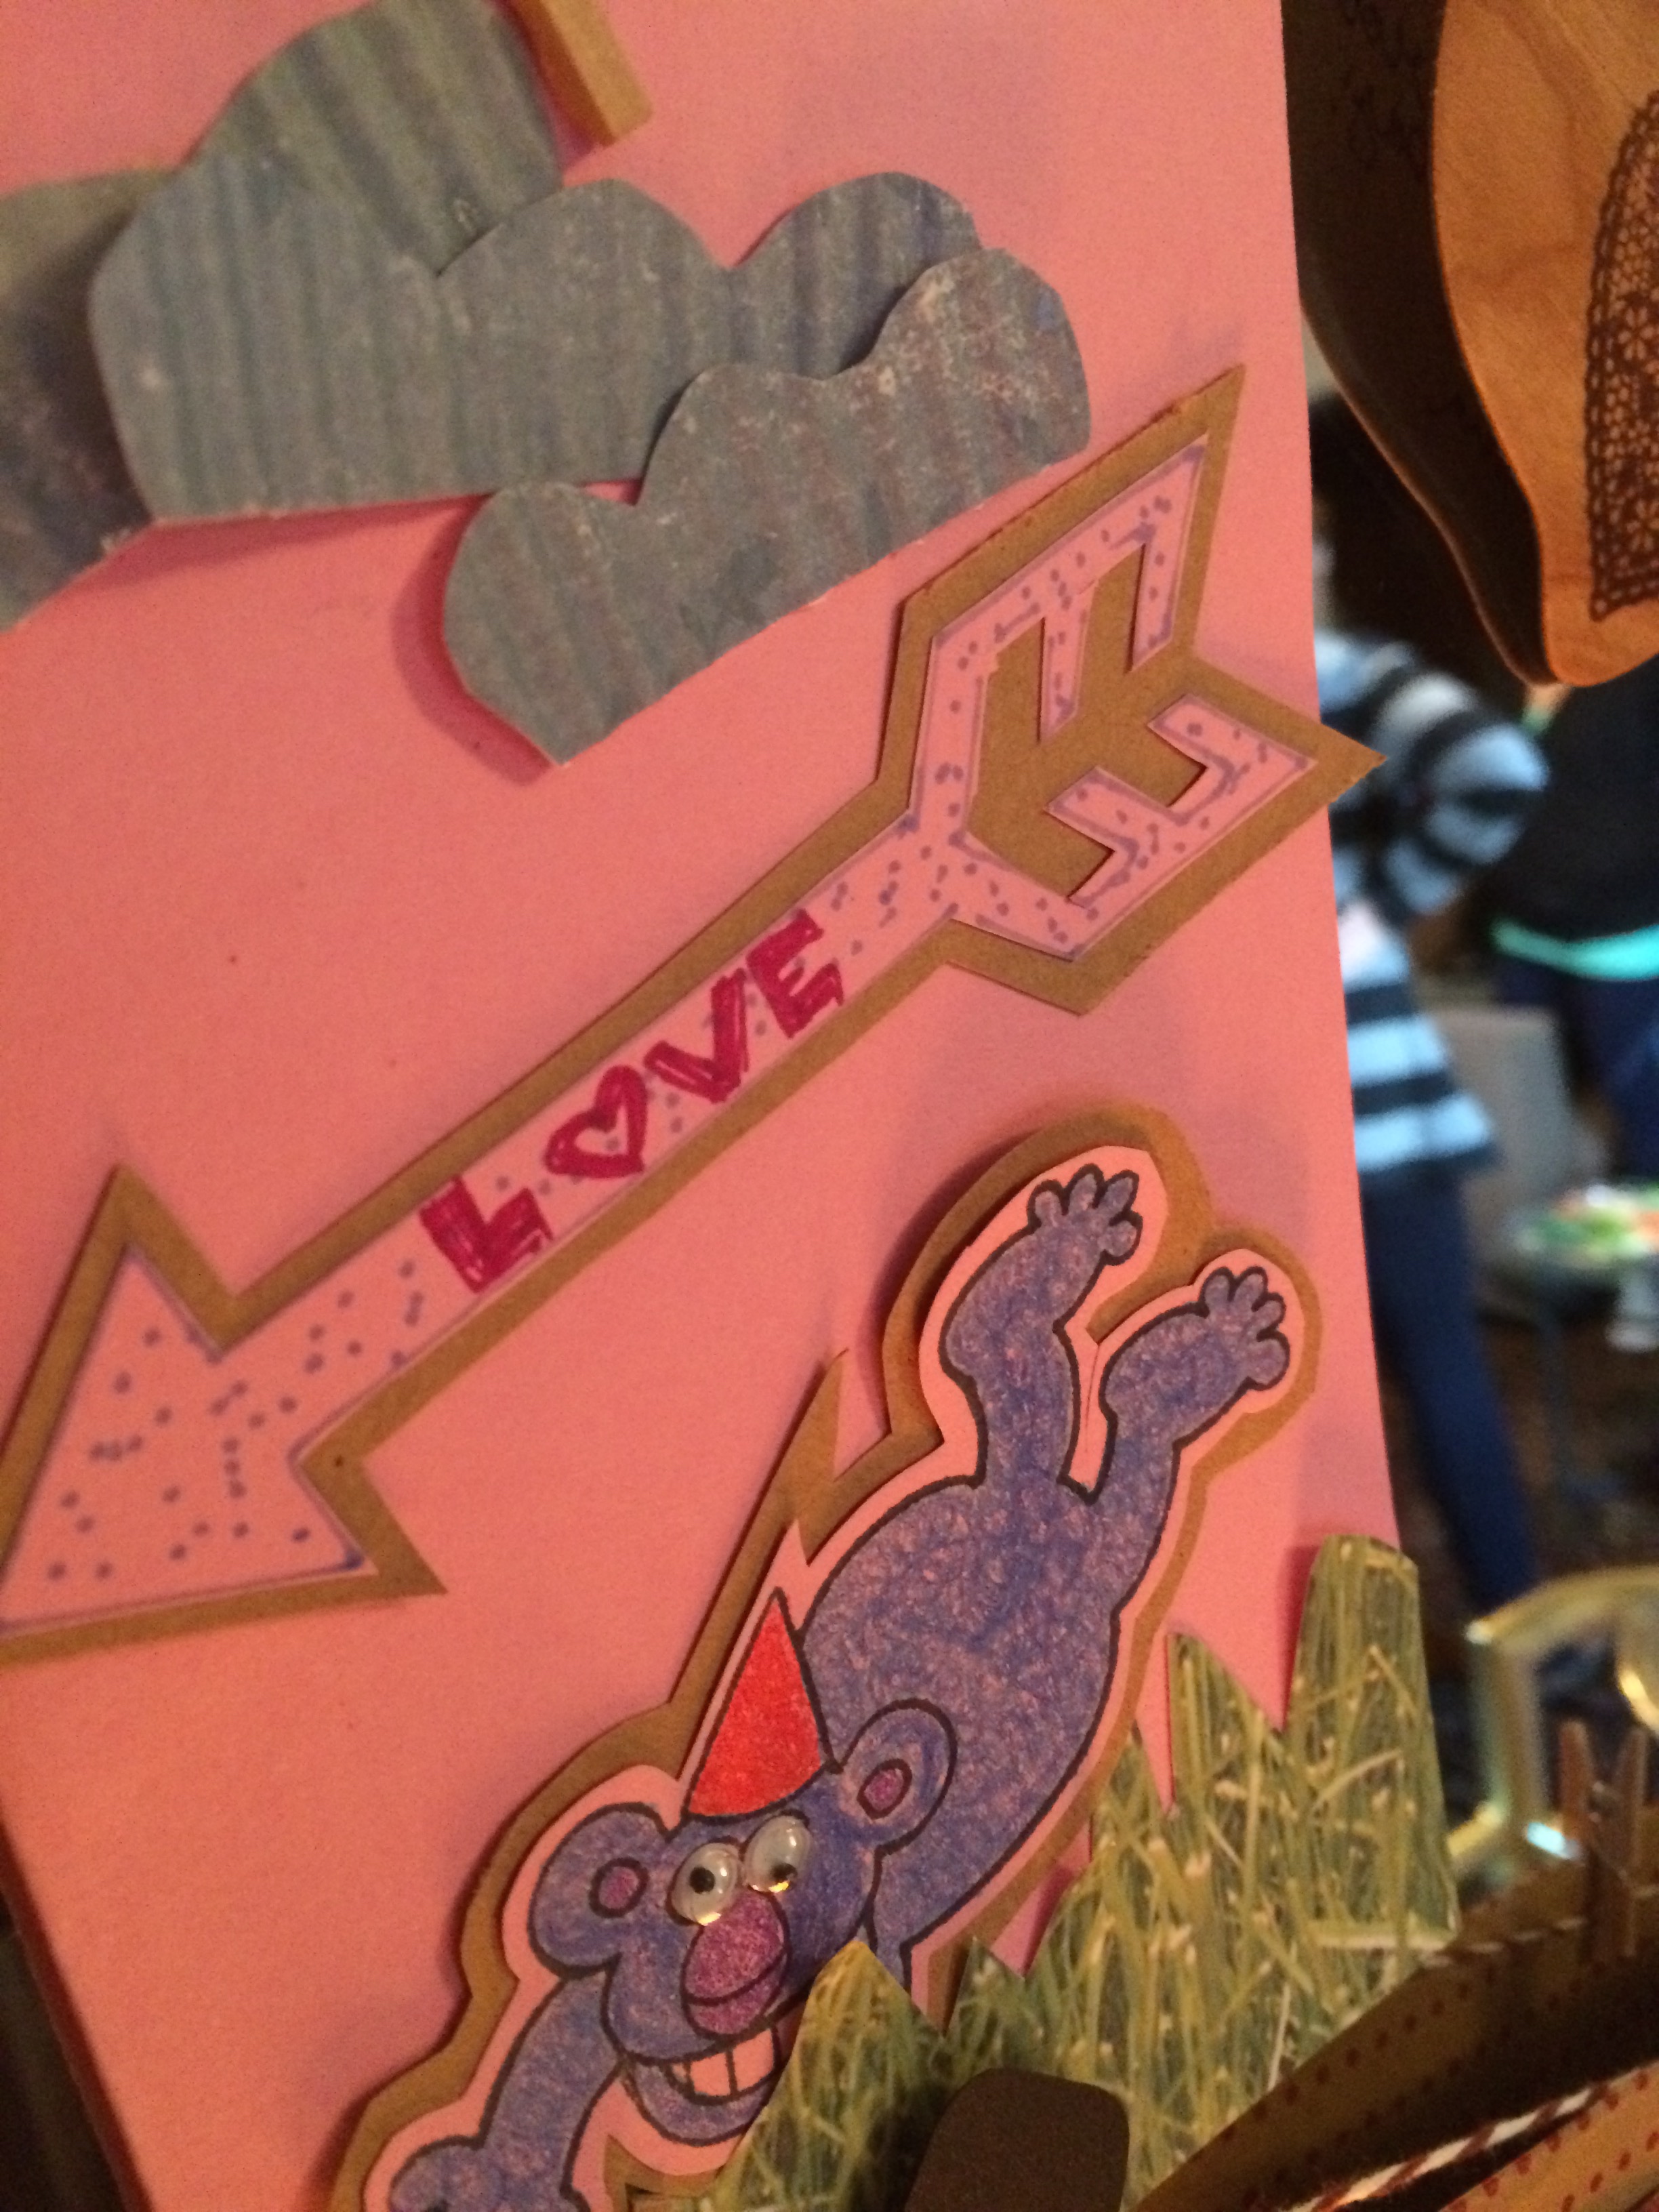
Everyone had a great time! Each expressing their own individuality through their cards to share with the ones they love this Valentine’s Day.

DIY Valentine's - Hammer Sparkle Chalk DIY Valentine's - Hammer Sparkle Chalk DIY Valentine's - Hammer Sparkle Chalk DIY Valentine's - Hammer Sparkle Chalk

I hope this post inspires you to spend this dreary weather crafting!

Helena

How to Wrap the Perfect Present

How to Wrap a Present - Hammer Sparkle Chalk

No one can say we don’t have Christmas spirit.

In our household, this weekend will be full of last minute Christmas shopping and present wrapping. Tony and I love to find the perfect gift for our peeps and await the anticipation as they unwrap the items we picked out with care. Part of the anticipation around gift giving is picking the present to open from the slurry under the tree. I take pride in how the gifts we give are presented and this comes down to how they are wrapped.

How to Wrap a Present - Hammer Sparkle Chalk

Beautifully wrapped presents add the finishing touch to any tree.

If you are struggling to get the perfect present wrap, struggle no more, today is your day because at Hammer Sparkle Chalk we have got you covered. We have a step-by-step tutorial on getting the perfectly wrapped package time after time.

Time: less than five minutes per gift

Supplies:

  • Box that fits your present
  • Roll of wrapping paper
  • Tape
  • Scissors
  • Ribbons or bows

Step One: Find a box that fits your gift. Tape it closed. TIP: I add extra tissue paper inside the box to protect the item incase it is shaken (and let’s face it, it will probably get shaken).

IMG_3266  IMG_3267  How to Wrap a Present - Hammer Sparkle Chalk

IMG_3269

How to Wrap a Present - Hammer Sparkle ChalkStep Two: Unroll the wrapping paper and place your box on the paper. Once your box is on the paper flip it along the length of the paper to make sure the paper is long enough to cover your entire box. TIP: This step reminds me of Goldilocks – you don’t want your wrapping paper piece too big or too small, if it is just the right size it will make your wrapping experience WAY easier.

IMG_3273 How to Wrap a Present - Hammer Sparkle ChalkStep Three: Cut the wrapping paper. Most wrapping papers have guidelines on the back so you can use those to guide your cut. If the paper you are using doesn’t have guideline use the roll as a guide to cut your straight line. After you separate your piece of paper from the roll, set the roll aside.

NOTE: The key to the next few steps is TAPE. If you use tape in the appropriate spots, your wrapping will be easy and look beautiful. The tape allows you to get the precision you need for the perfectly wrapped present.

How to Wrap a Present - Hammer Sparkle ChalkStep Four: Center your box on the cut piece of wrapping paper. Tape one end of the paper to the box. Make sure the paper is square with the box. This will ensure you have clean lines once you finish.

IMG_3276How to Wrap a Present - Hammer Sparkle ChalkBring the other side of the wrapping paper up to the spot you just taped. Fold over the edge (this makes a nice clean edge that isn’t jagged from the scissor cut) and tape the other end over the first tape to hide the original seam and tape.

Step Five: Now it is time to finish the sides. This part can be tricky, but when you do it correctly, your present turns out beautiful. Focus on only one side at a time to keep things a little easier.

How to Wrap a Present - Hammer Sparkle Chalk IMG_3278 How to Wrap a Present - Hammer Sparkle Chalk IMG_3283 IMG_3284

  1. With your present seam-side up (aka the bottom-side you just taped in step four), fold down the middle section and tape to the box.
  2. Look to your ends. This is where your folding skills come into play. Make sure you have a tight corner by holding the large middle piece to the box while you crease the corner. Fold the creased corner over the middle you just taped down. Tape the corner down.
  3. Repeat with second corner.
  4. Lastly, fold up the final piece over everything else and secure with tape. I like to do a fold on this edge too for a more finished look and hide the jagged cut line.

IMG_3285  IMG_3286  IMG_3287  IMG_3288  How to Wrap a Present - Hammer Sparkle Chalk

Step Six: Repeat step five on other side of the present.

How to Wrap a Present - Hammer Sparkle Chalk

Wilson is always ready to help protect the presents under the tree.

How to Wrap a Present - Hammer Sparkle Chalk How to Wrap a Present - Hammer Sparkle ChalkStep Seven: Your present is wrapped! Congratulations! Now use your bows and ribbons to decorate the top of the package. Have fun with these. TIP: Save the ribbon year after year. It brings back fun memories and saves you $$ around an expensive time of year.

Step Eight: Don’t forget to label your present! In my family we like to hide the names within the design on the package. It makes for a fun time with kids when they are trying to find which presents are theirs.

What do you have planned for wrapping this year? Share your comments on the blog!

How to Wrap a Present - Hammer Sparkle ChalkHave fun! XO, Olivia

Ribbon Trees – An Easy and Fun Christmas Craft

Ribbon Tree - Hammer Sparkle Chalk

Ribbon Tree - Hammer Sparkle ChalkLast weekend we had our Christmas Crafting Extravaganza. It was a day of delicious drinks, yummy bites, fun conversations and crafts galore.

Ribbon Tree - Hammer Sparkle ChalkToday I want you to feel like you were a part of the Extravaganza by learning how to make one of the crafts – the Ribbon Tree. I originally got this idea from Fireflies and Mud Pies and then adjusted it for our own Christmas craft. This is a fun project that can be altered to fit your space whether it be used to decorate your Christmas tree as an ornament, add embellishment to a wreath, or incorporated in your Christmas wall art.

Ribbon Tree - Hammer Sparkle ChalkTotal Cost: Less than $10 (The cost decreases when you make several tress because you can use the purchased ribbon multiple times without buying a new spool. Better yet, find scraps around your house to use and it will be free!)

Time: 30 minutes

Supplies:

  • Stick (It can be 4” – 10” long depending where you plan to use your creation. I used branches that needed to be pruned from our outside trees. You could also use a branch from your Christmas tree.)
  • Ribbon of varying widths, styles, and textures (I used greens, browns, sparkles, and even a little red)
  • Twine or waxed thread
  • Scissors
  • Hot Glue gun (optional)

IMG_3198  Ribbon Tree - Hammer Sparkle Chalk  IMG_3197

Step One: Attach your twine or waxed thread to the top of your stick. Make sure you leave a loop large enough to hang on a tree, wreath, or wall hook. You can tie it on or use a hot glue gun to adhere it to the stick (it will eventually be under the ribbon).

Ribbon Tree - Hammer Sparkle ChalkStep Two: Tie your first piece of ribbon in a square knot. Repeat with each ribbon as you move along the length of the stick. Leave a little room at the bottom of the stick for the tree trunk. Don’t worry about cutting the ribbons to the finished length yet. Keep them all as long as the longest length you will need (the ribbon that is the bottom of the tree).

TIP: To tie a square knot hold the two ends of the ribbon, one in each hand, and cross the right side over the left side and tie. Then cross the left side over the right side and tie again. There is your square knot! (I always remember it with this rhyme– “Right over left, left over right, and there you have a square knot tonight.”)

Ribbon Tree - Hammer Sparkle ChalkStep Three: Place the completed ribbon-strung stick on a flat surface and smooth out your ribbons to the best of your ability. Using very sharp scissors cut your ribbons on one side of the “tree trunk” in a diagonal line to form the shape of the tree. Repeat this on the other side of the “tree trunk.”

TIP: To achieve even sides on your tree use the cut ribbons from the first side as the measurement tool for the second side by matching them up to their uncut counterpart.

Step Four: Decorate with fun embellishments or cut a star and glue it to the top of the tree.

IMG_3210  Ribbon Tree - Hammer Sparkle Chalk  IMG_3205

The fun part about this craft is that it is very individual. Everyone who created a tree at the Extravaganza made one that was completely different from the others. It shows personality and decorating taste. What colors will you use to make your ribbon tree?

Enjoy! – XO, Olivia

Ribbon Tree - Hammer Sparkle Chalk

Per usual – Steve joined in on the crafting.